Right-click folders in view explorer or items within them to display available functionality such as viewing their properties, adding items like levels or charts, adjusting totals or All Others for an axis, and so forth. Many of the functions can also be controlled through the Navigation Panel, Measure Items window, or the grid and its pop-up menus, giving you several ways to make changes. From view explorer, you can make many consecutive actions on different types of items and then apply all changes at once. Menus described below are presented in order of the folder order in view explorer.
 |
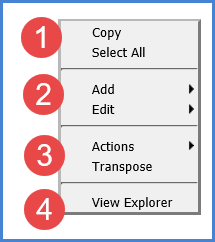
Copy - This option allows you to copy sections of a view that you have selected. Select All - Use this option to select the entire grid. |
|
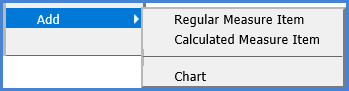
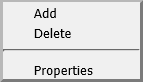
Add - The sub menu has options for adding Regular Measure Items, Calculated Measure Items, and Charts.
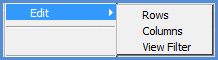
Edit - Edit the hierarchies on the rows, columns, or view filter.
|
|
Actions – Use this option to add new actions, add the active view to existing actions, or display the actions that include the active view .
Transpose - Use this option to change the axis for levels and measure items in the grid. Objects displayed in rows are switched to display in columns and vice versa. |
|
View Explorer - This option allows you to open and close view explorer. If the Properties window is open when you close view explorer, the Properties window will also close. |
Right-click the view name (or "New View" for views not named yet) to display actions you can take.
|
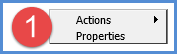
Actions – Use this option to add new actions, add the active view to existing actions, or display the actions that include the active view .
Properties– Click to maintain overall view properties such as the name, description, Export Type, and view group. |
Right-click the Parameter Groups folder and select Add to insert a new group.

Right-click the name of a parameter group to display actions that you can take on the group, which include adding a parameter, deleting the group, or maintaining the properties for the group.
Right-click a parameter within a group to display actions that you can take on the parameter, which include deleting it or maintaining its properties.
Right-click the Grid folder to display actions that you can take related to the overall grid.
|
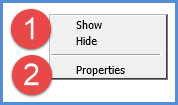
Show or Hide - Choosing Hide will hide the grid. If a chart is attached and visible, the chart will still show. Choose Show to display the grid again. |
|
Properties - Click to maintain the grid properties including whether rows and columns display all in a single page or one page at a time. |
Right-click the Rows or Columns folder to display actions that you can take on the respective rows or columns axis.
|
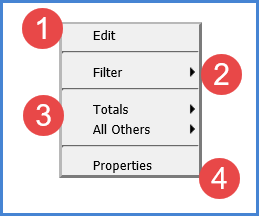
Edit - Edit the hierarchies on the selected folder -- either rows or columns.
|
|
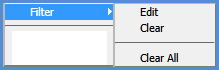
Filter – Filter options are Edit, Clear, and Clear All.
|
|
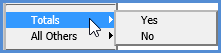
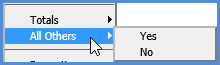
Totals - Control whether totals are displayed for all levels on rows or columns. You also can adjust totals properties by individual level if needed.
All Others - Control whether All Others values are displayed for all levels on rows or columns. You also can adjust All Others properties by individual level if needed.
|
|
Properties - Click to maintain the rows or columns properties including repeating values and the others summary.
|
Right-click the View Filter folder to edit the hierarchies in the View Filter section of the view or to maintain its properties.
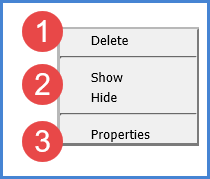
Right-click a hierarchy to display actions that you can take on it.
|
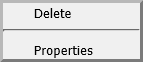
Delete - This option deletes the hierarchy and all its levels from the view. To add it back, you would need to use the Edit window or can use the Add Hierarchies window from either the Navigation Panel or View Filter section of the view. |
|
Show or Hide - Choosing Hide will hide the hierarchy and therefore all its levels. Choose Show to display the hierarchy and levels again. |
|
Properties - Click to view the dimension to which the hierarchy belongs. |
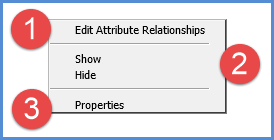
Right-click a level to display actions that you can take on it.
|
Edit Attribute Relationship - Edit (add or remove) the attribute relationships that will be available in the view for the level. |
|
Show or Hide - Choosing Hide will hide the level. Choose Show to display the level again. |
|
Properties - Click to maintain the level properties including filters, sorts, the display of totals and All Others values, and display text. |
Right-click an attribute relationship to display actions that you can take on it.
|
Delete - This option deletes the attribute relationship from the view. To add it back, you would need to use the Edit Attribute Relationships window. |
|
Show or Hide - Choosing Hide will hide the attribute relationship. If you plan on using the attribute relationship as the display text for the level, you should hide the attribute relationship. Choose Show to display the attribute relationship again. |
|
Properties - Click to maintain the attribute relationship properties including sorts. |
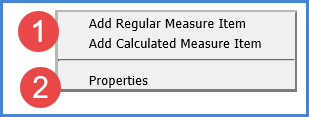
Right-click the Measure Items folder to display actions that you can take on the measure items axis or to control the Time Range property for the view.
|
Add Regular Measure Item - Opens the Add Measure Item window for adding new regular measure items and opens a Properties window for the new measure item. Add Calculated Measure Item - Opens the Add window for setting up a new calculated measure item and its caption and format. This action also opens a Properties window for the new measure item. |
|
Properties - Click to maintain the properties for the measure items axis, such as which axis measure items will be displayed and whether the Time Range property will be Yes or No. |
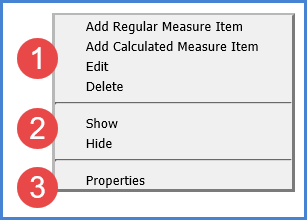
Right-click an individual measure item to display actions that you can take on it or to add new measure items.
|
Add Regular Measure Item - Opens the Add Measure Item window for adding new regular measure items and opens a Properties window for the new measure item. Add Calculated Measure Item - Opens the Add window for setting up a new calculated measure item and its caption and format. This action also opens a Properties window for the new measure item. Edit - For regular measure items, opens the Edit Measure Item window with that measure item selected for editing. You can edit that measure item or any other regular measure items. For calculated measure items, opens the Edit window where you can edit the calculation, caption, and format for the calculated measure item. Note: You also can access editing windows for measure items from the Measure Items window, which is accessible from view toolbars, or by double-clicking the caption of the respective measure item in the view grid Delete - Deletes the measure item from the view definition. Any measure items dependent on the deleted measure item also will be deleted from the view, but you will be warned that those items will also be deleted. |
|
Show or Hide - Choosing Hide will hide the measure item. Choose Show to display the measure item again. |
 |
Properties - Click to maintain the measure items properties including caption, filter, sorts, totals, and format string. |
Right-click the Presentation folder to display actions that you can take on it.
|
Actions – Use this option to add new actions, add the active view to existing actions, or display the actions that include the active view .
Properties – Click to maintain Presentation properties such as setting the default presentation type to Viewer or Excel. |
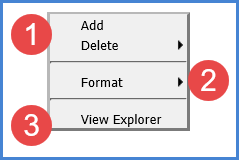
Right-click the Charts folder to display actions that you can take on it.
|
Add - Click to add a new chart. The Chart Data Wizard opens for setting up the chart. Delete - Click and select the All Charts option to delete all charts attached to the view, whether hidden or visible. The Delete option is only available if a chart exists in the view definition.
|
|
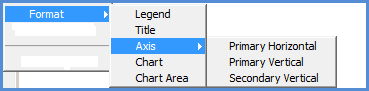
Format - Click and select the Chart Area option to change the formatting for the entire area where all charts display. The Format Chart Area window opens. Format option is only available if a chart is included in the view definition.
|
|
View Explorer - Click to close view explorer. |
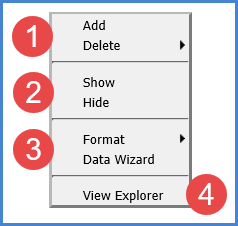
Right-click an individual chart to display actions that you can take on it or to add new charts.
|
Add - Click to add a new chart. The Chart Data Wizard opens for setting up the chart. Delete - Click and select the Chart option to delete only the selected chart. Or select the All Charts option to delete all charts from the view, whether hidden or visible.
|
|
Show or Hide - Choosing Hide will hide the chart. If the grid is visible, it will remain even when the chart is hidden. Choose Show to display the chart again. |
|
Format - Click and select from the provided sub-menu to edit formatting for the selected chart. The applicable window will display.
Data Wizard - Click to access the Chart Data Wizard for editing basic aspects of the chart such as the types, series or data points. |
|
View Explorer - Click to close view explorer. |