for
the Owner property.
for
the Owner property.View or security administrators can change the owner of views, user lists, conditional formats, or actions. This functionality helps administrators carry out tasks for user and object maintenance in less time and fewer steps. Here are a couple examples of the usefulness of this functionality:
You need to promote a user’s personal or shared items to a Global status. You open the item, make yourself the owner, change the type to global, and save the item. Now the item is globally available to all users, but editing control is limited to you and other administrators.
You need to remove a user from Viewer but want to retain some of the personal views created by that user. You open the views and reassign ownership prior to deleting the user’s profile.
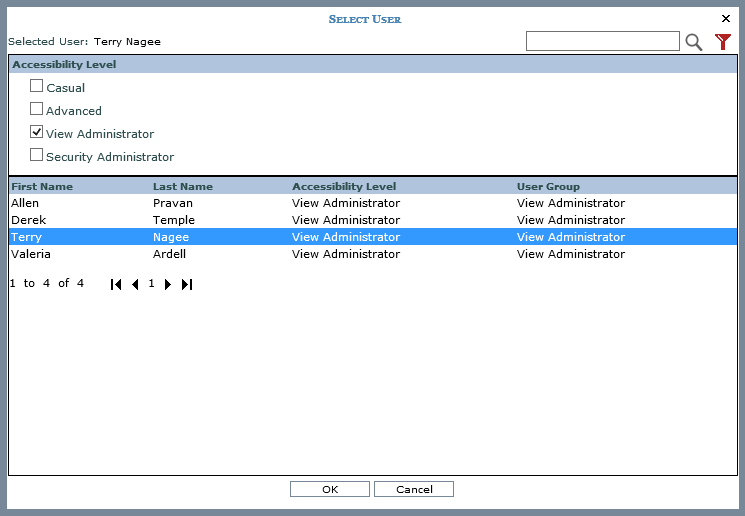
A Select User window corresponds to an Owner property for use in changing an item’s owner, and it features a search and filter tool to find particular users as you work in this selection window. Steps follow for changing the owner of different types of objects.
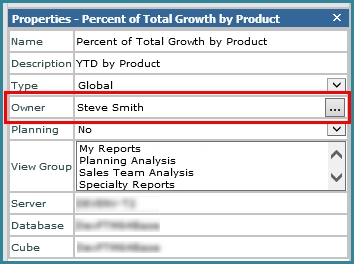
1. From its view group in the left panel, right-click the view name and choose Edit.
2. Right-click the first folder in view explorer, for the view name, and choose Properties.
3. Click
the Browse button for
the Owner property.
4. In
the Select User window, click the name of the new Owner for the view,
and then click OK in that window. You can narrow down the users that display
for selection in the window using the search  and/or filter
  tools.
5. Click OK in the Apply Changes window.
6. After
the view refreshes, click Save  in the view toolbar.
1. Click the View option in the Admin Utilities view group.
2. From
the View list window, click the name of the View then click Edit  (or double-click the view
name).
(or double-click the view
name).
3. Follow steps 3 through 6 in the prior set of instructions.
1. Click the User List option in the Admin Utilities view group.
2. From the User List window, click
the name of the user list then click Edit (or
double-click the list name).
3. In
the Attributes section of the User List Maintenance window, click the
Browse button for
the Owner property.
4. In
the Select User window, click the name of the new Owner for the view,
and then click OK in that window. You can narrow down the users that display
for selection in the window using the search and/or filter tools.
5. Click Save .

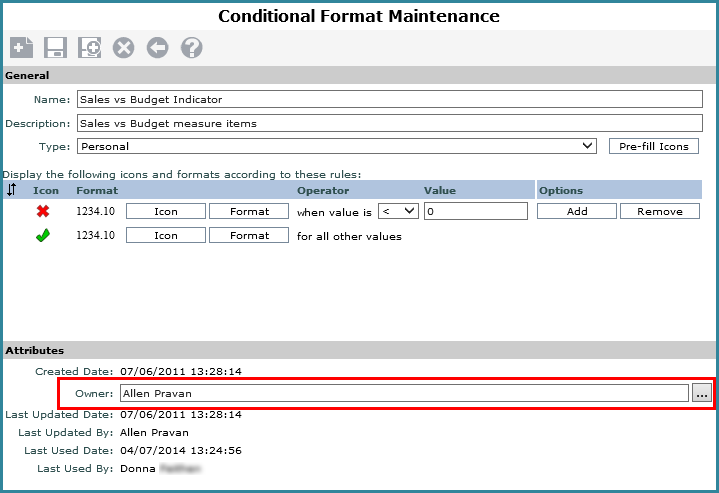
1. Click the Conditional Format option in the Admin Utilities view group.
2. From the Conditional Format
list window, click the name of the conditional format then click Edit
(or double-click the conditional
format name).
3. In
the Attributes section of the Conditional Format Maintenance window, click
the Browse button for
the Owner property.
4. In
the Select User window, click the name of the new Owner for the view,
and then click OK in that window. You can narrow down the users that display
for selection in the window using the search and/or filter tools.
5. Click Save .
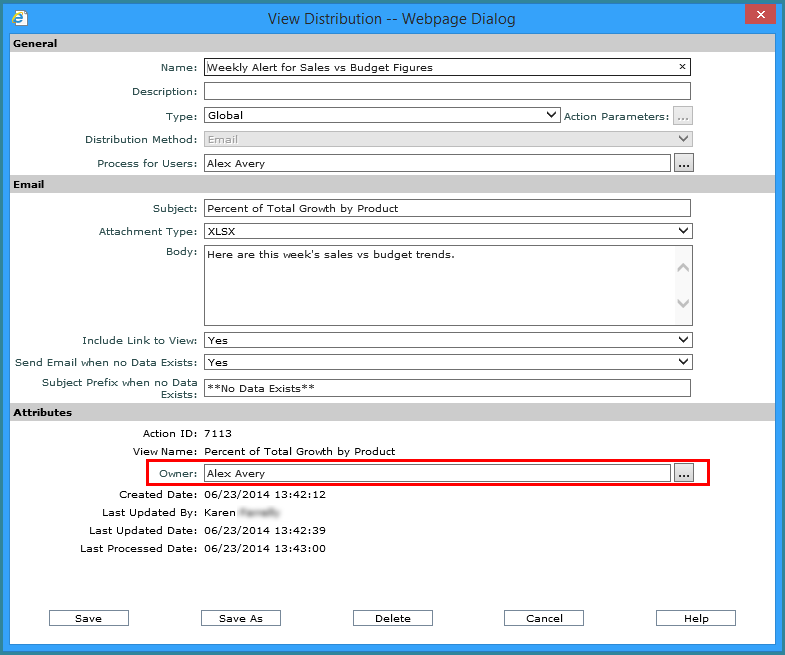
1. In the left panel, locate the view to which the action is attached, right-click the view name, and select Actions then Edit.
2. From the Select Action window, click the name of the action then click Edit (or double-click the action name).
3. In
the Attributes section of the View Distribution window, click the Browse
button for
the Owner property.
4. In
the Select User window, click the name of the new Owner for the view,
and then click OK in that window. You can narrow down the users that display
for selection in the window using the search and/or filter tools.
5. Click Save.