![]()
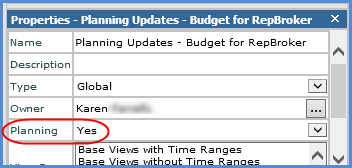
Verify the Planning property = Yes.

![]()
Verify that Time Range = No and Drilldown View = None for the measure items axis.

![]()
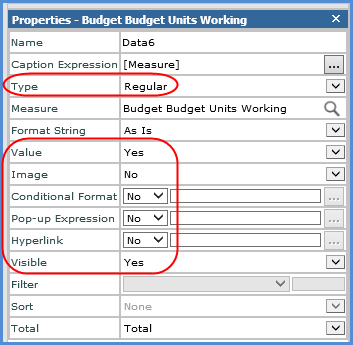
Choose the regular measure items for the view and verify that properties of each measure item to be used for planning updates match the following settings.
Type = Regular
Value = Yes
Image = No
Conditional Format = No
Pop-up Expression = No
Hyperlink = No
Visible = Yes

![]()
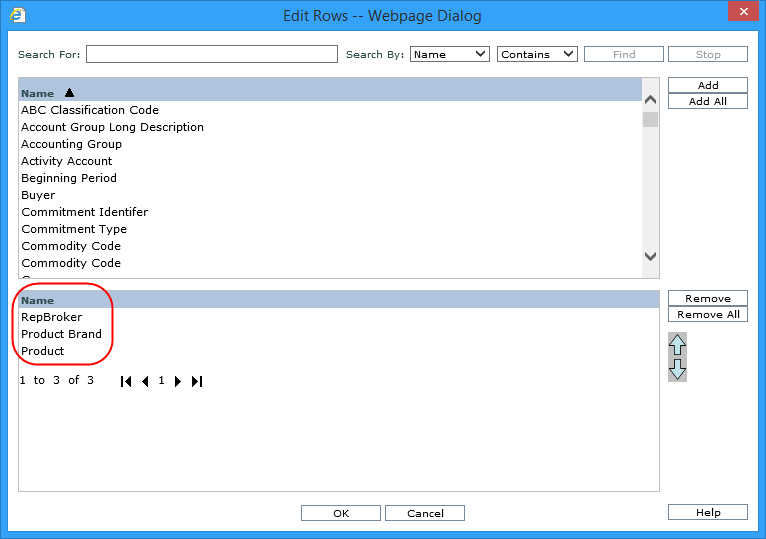
When choosing hierarchies for the view, consider what is appropriate based on your planning needs. For example, planning by Product Brand or Product might make more sense than planning by ABC Classification.


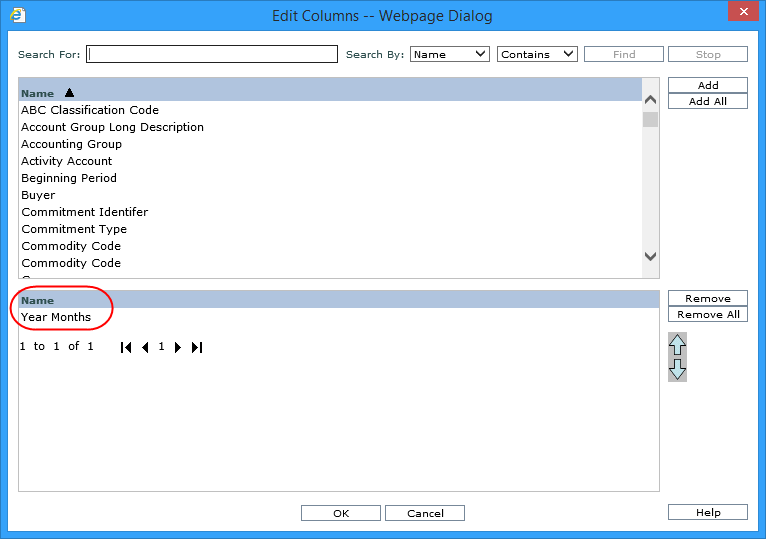
When choosing time hierarchies for the view, consider what is appropriate based on your planning needs. For example, it may make more sense to update data by months rather than weeks.
